Learn how AutoDS allows you to manage all orders from all your stores
Quick jump:
You can watch this video or skip to written guide:
General
The general features, information, and access on your orders page.
- Add filter-filter your order by any criteria. Click here to learn how to work with this feature

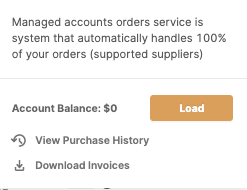
- Fulfilled with AutoDS- view the 'Fulfilled by AutoDS' balance, load balance, view your purchase history, and download your invoices.

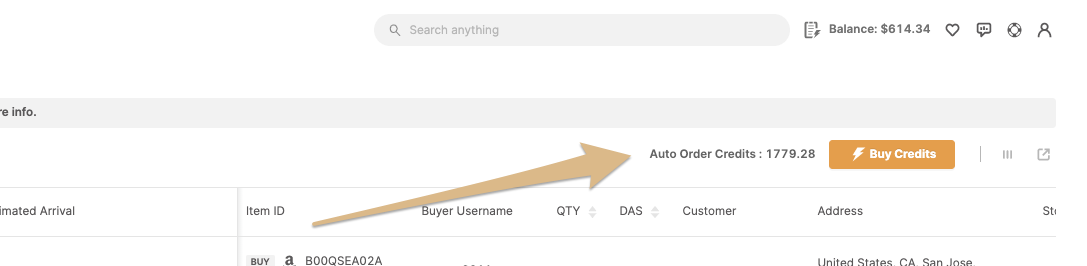
- Auto-order credits- The remaining balance of your auto-order credits and quick access to buy more.
- Customize display- You can decide which columns you want to display and work with.
Click on ||| customize the display and check/uncheck the columns you want to see:
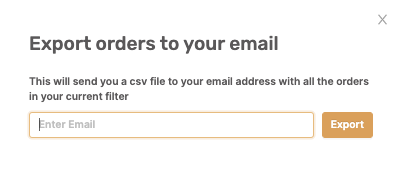
- Export- Export your orders into a CSV file. All you need to do is enter your email and the file will be sent to you.
Orders Page Columns
Here's an explanation of the different columns on the orders page.

- Image—Clicking on the image will give you quick access to the buyer's information and order details (Supplier, tracking number, buy account, etc.) and the option to edit it. You will find three tabs - Buyer, Order, and Product:
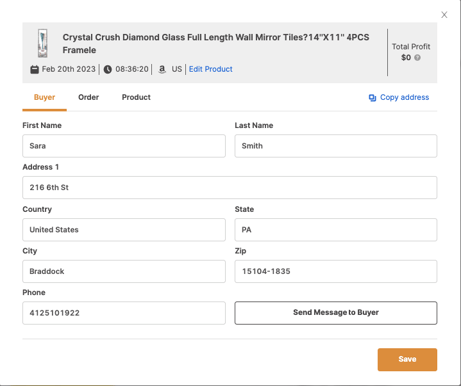
Buyer info tab- on this tab, you will be able to see all the buyer's information and copy with our extension his details in case you place the order manually.
Order tab- here you will have an overview of the order's details. Date, hour, status, buy order ID, tracking number and more.
Product tab - this tab is relevant for cases where you want to change the source ID only for a specific order and not the product in general. - Title- Products title
- Date- When the order was registered
- Status- The order's status. Click here to learn what each status means.
- Automation - The icon will show you if the order was placed as an auto order or managed.
( ) - The order was placed as auto-order
( ) - fulfilled by AutoDS (=aka managed account service)
( )- got an error
 - Estimated arrival- click here to learn how this feature works
- Note- clicking on this icon (
 ) will give you the option to add a note to your order
 - Edit- Clicking on this icon
 will give you the option to edit the order or edit the product (you will be directed to the product's page)
 - Sourcing Request - check more cheap and profitable items compare to the current item.
- Tracking Number - It will display the tracking number of the products, you can check the progress when you click on the displayed information.
- Item ID- The item IDs on the source and sell site.
- Buyer username- the buyer username on the selling channel
- QTY- The number of units purchased.
- DAS (=Days awaiting shipment) - The number of days awaiting shipment since the order was placed.
- Customer- the name of your buyer/customer
- Address- The address of your buyer/ customer.
- Store- The name of the store the orders belong to.
- Price- The price of the product on the source and selling platform
- Profit- The profit of the order
- Fee/Tax- The product's tax in the source site (if you use auto-orders or the 'Fulfilled with AutoDS' service, the tax will appear automatically, if not, you will be able to insert it there).
- Order ID- The order ID on the source and selling site
- Tags- Tags you added for this item to easily manage it later. You can read more about it here.
If you want to check the history of changes to your orders and tracking updates, take a look at this article to learn how: Order logs and tracking updates
If you have further questions that were not answered in this article, please do not hesitate to turn to us at the support chat - we will be more than happy to assist you.