eBay API: Automatic messages to your buyers in AutoDS
Set up automatic messages for your eBay buyers and improve your feedback score
Introduction
Sending automatic messages to your buyers saves time, provides excellent customer service with no extra effort, and helps increase your feedback score.
It also improves your seller performance on eBay, ranking you higher in Cassini (eBay’s search algorithm) and giving your listings more impressions.
⚠️ Note: This feature is relevant to eBay API users only.
Benefits
-
Save time with automated customer communication
-
Provide a better buyer experience and improve satisfaction
-
Increase your feedback score
-
Boost your eBay ranking and visibility with Cassini
-
Apply automation to both manual and automatic orders
Enable the Orders Processor
To use automatic messages, you must first enable the Orders Processor:
-
Go to Settings → Plans & Add-ons → Orders Processor.
-
Enable the subscription.

Access automatic messages settings
Once the Orders Processor is enabled:
-
Go to Settings → Supplier Settings → Orders → Automatic Messages to customers.
-
From here, you can configure and customize your automatic messages.

Message types
There are 5 types of messages you can send automatically:
| # | Message type | Description |
|---|---|---|
| 1 | Gift message | A message included on the receipt from Amazon. Relevant for users who place auto orders with their own Amazon accounts. |
| 2 | Feedback message | Sent immediately once the order is completed, asking buyers for feedback. |
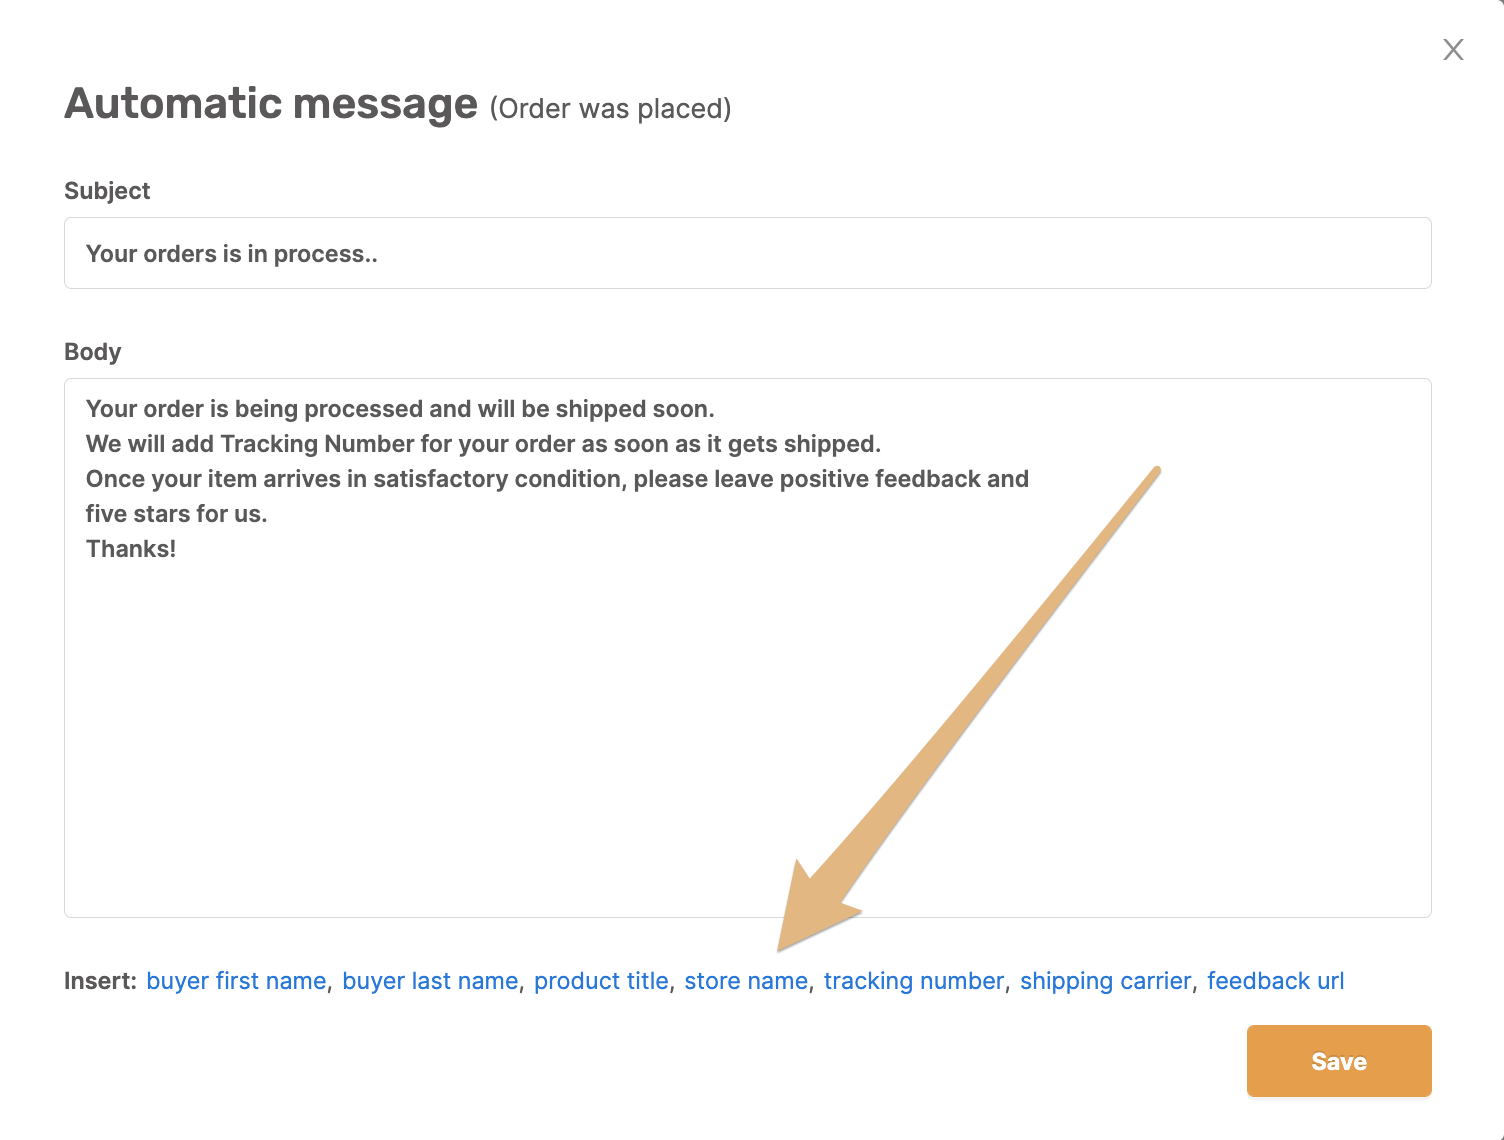
| 3 | Order was placed | Sent to the buyer after they place the order. |
| 4 | Tracking number available | Sent when a tracking number is added to the order. |
| 5 | Order was delivered | Sent after the order status changes to Delivered. |
Editing message content
-
A default message template is available in your account.
-
To customize it, click the Pencil icon.
-
Use the available buttons to auto-refill details such as:
-
Buyer’s name
-
Item’s title
-
Feedback URL
-

⚠️ Important: When using auto-refill fields, leave a space before and after the brackets to ensure the text displays correctly.
Once you have chosen your message types and customized the text, click Save. The changes will apply to all future orders.
Managing automation
-
Use the ON/OFF buttons to activate or deactivate automatic messages.
Note: The auto-messages will be sent to all your orders - those done manually (and have the order processor add on) or automatically.
